Carpet Tile Installation Guidelines
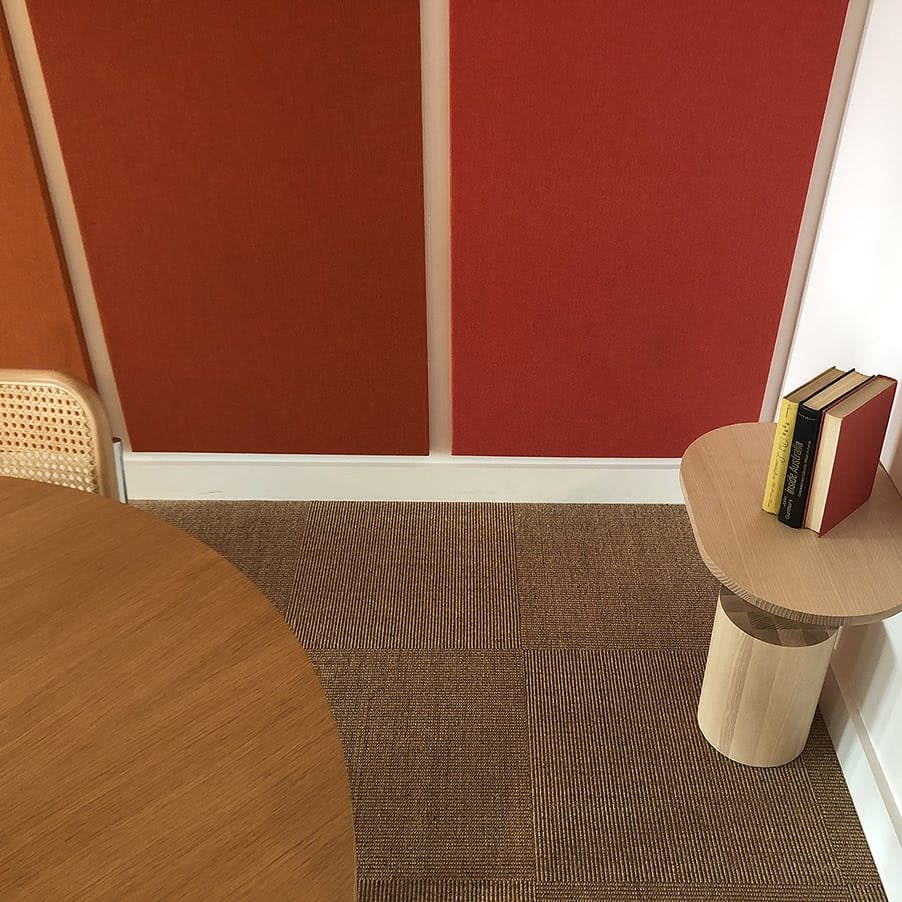
Modular carpet tiles are a versatile and creative tool for an instant flooring update. Not only can multiple designs be created from this single product, carpet tiles are easy to install for homeowners or professionals alike.
Planning for Your Carpet Tile Installation
When it comes to installing carpet tiles, proper planning is the key to achieving a flawless and long-lasting result. Although all our residential and commercial carpet tiles come with installation guidelines, here we provide step-by-step instructions and valuable tips to help you implement a successful installation.
We cover:
What is loose lay installation?
Loose installation means carpet tiles are installed without an adhesive. This method is used for temporary settings like exhibition stands, rental settings, residential spaces, offices, or when creating a carpet tile area rug. The carpet tiles still need to be secured or connected in some way—an adhesive tape or sticker can be applied to the underside of the tile intersections, the installation is weighted down by furniture, or carpet tiles are installed wall-to-wall and the walls provide a stabilizing frame.
What is permanent installation?
A permanent carpet tile installation means the tiles have been glued down with a pressure sensitive adhesive or contract-grade adhesive sticker that secures the modular tile to the subfloor. This type of installation is used in residential spaces, commercial settings, retail stores, showrooms, or any space that must meet safety regulations.
Residential vs Contract Situations
Depending on the specific situation, the installation method may be dictated by the intended use or location. A public setting must consider safety. A home project might focus on the ease of installation. Whether its a residential or contract project, either installation method works. In general, a permanent installation with pressure sensitive adhesive is recommended for commercial spaces, retail settings or any space where castor chairs are used. Loose laid tiles in these settings (either residential or commercial) must be firmly installed wall-to-wall or secured by furniture.
Explore our commercial or residential carpet tile collections—stylish and versatile options like natural fiber tiles woven from sisal or coir, goat wool tiles in an array of colors, or durable, sleek synthetic tiles.
When planning a carpet tile installation, it is important to create a timeline that includes the prep work. Here’s what you need to do to prepare the space:
Clear the space of all furniture, appliances and obstacles.
Prepare the subfloor. It should be structurally sound, clean, completely dry, and level. Although the following points apply to both loose lay and permanent installations, it is extra important with a permanent installation that the subfloor be prepared in the following ways to facilitate adhesion.
If there are stress cracks in the subfloor, they should be filled, sanded, vacuumed and primed.
If the subfloor is not level, you can use a thin chipboard (floating installation) to compensate.
The subfloor should be free of dust, oil, grease, tar, paint, wax, curing agents, loosely bonded toppings, loose particles and any other substance or condition that may reduce or prevent adhesion.
Please refer to the surface preparation requirements for your chosen adhesive tackifier.
Remove and inspect carpet tiles for confirmation of style, color, or found defects.
Acclimate carpet tiles, adhesive, and the subfloor or substrate to room temperature for 24-48 hours before installation.
Do not install tiles in humid settings or environments that are exposed the elements. A relative humidity level between 40-60% is ideal.
Our Contract Coir Tiles and Sisal Tiles are woven entirely from plant fibers and like most natural materials will expand and contract under different climate and moisture conditions, much like wood flooring. For best results over time, install natural fiber carpet tiles in a climate-controlled space.
Gather the necessary tools and materials to streamline the installation process. Here’s a list of the items you might need:
Carpet tiles that reflect the desired style, fulfill the requirements of the space, and are fully acclimated.
For permanent installations, a pressure sensitive adhesive like Modu-Tak Adhesive. Modu-Tak is a pressure sensitive type adhesive that exhibits high levels of resistance to concrete substrates that exhibit high levels of alkalinity-up to pH 12. Other tackifier adhesives include F-Ball's F41, Ardex AF-825, Uzin U 1000 or Bostik Laybond carpet tackifier.
For loose lay installations, double-sided carpet tape or “peel and stick” tile connector adhesives to secure the tiles in place.
Chalk line and measuring tape will help you accurately measure the room and pinpoint center where installation begins.
Painter’s tape or masking tape to mark specific locations on the subfloor for tile placement or for marking the underside of a tile with its location.
A utility knife and extra blades to cut tiles to size, especially around room edges or other obstacles. Additionally, a sharp utility knife is required if cutting carpet tiles to make a special pattern or design.
CAUTION: please use an appropriate surface to cut on, a sturdy ruler to help measure and guide cuts, sharp blades for clean carpet cuts, and of course, please use caution when cutting carpet tile.
Do you need underlayment or padding for commercial carpet tiles?
With most applications, a padded surface beneath carpet tiles is not needed or recommended. Rug padding is by nature soft and could prevent the tiles from laying flat and tightly packed, thereby creating a walking hazard. However, with some commercial tile installations, a compact underlayment is used. This would always be at the discretion of a professional installer. Some carpet tiles come with padding sandwiched between the carpet and the backing. In these cases, the padding is manufacturer-approved and does not present a walking hazard.
For an efficient and successful installation, it’s important to plan the workflow and the design. Here are the steps we suggest:
Select a Starting Point: Generally, the center of the room is an ideal starting point. This is where the measuring tape and chalk line come in handy. However, the starting point for your project may be different based on the room's layout or its traffic patterns.
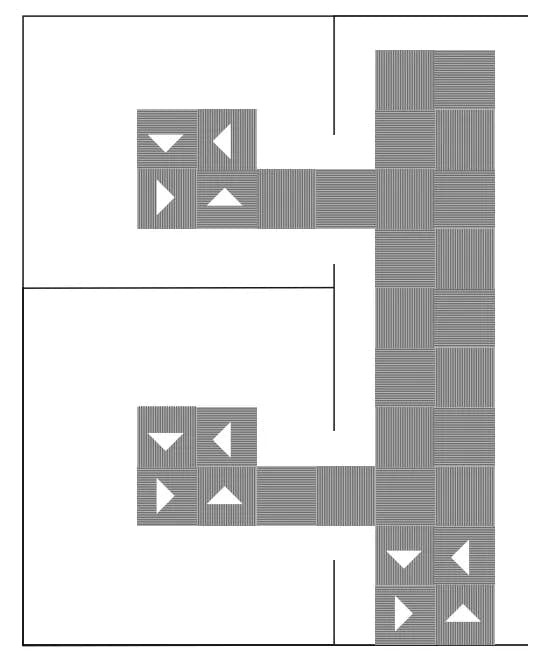
Start Center
This diagram shows a path for installing carpet tiles that are continuous between rooms and hallways.
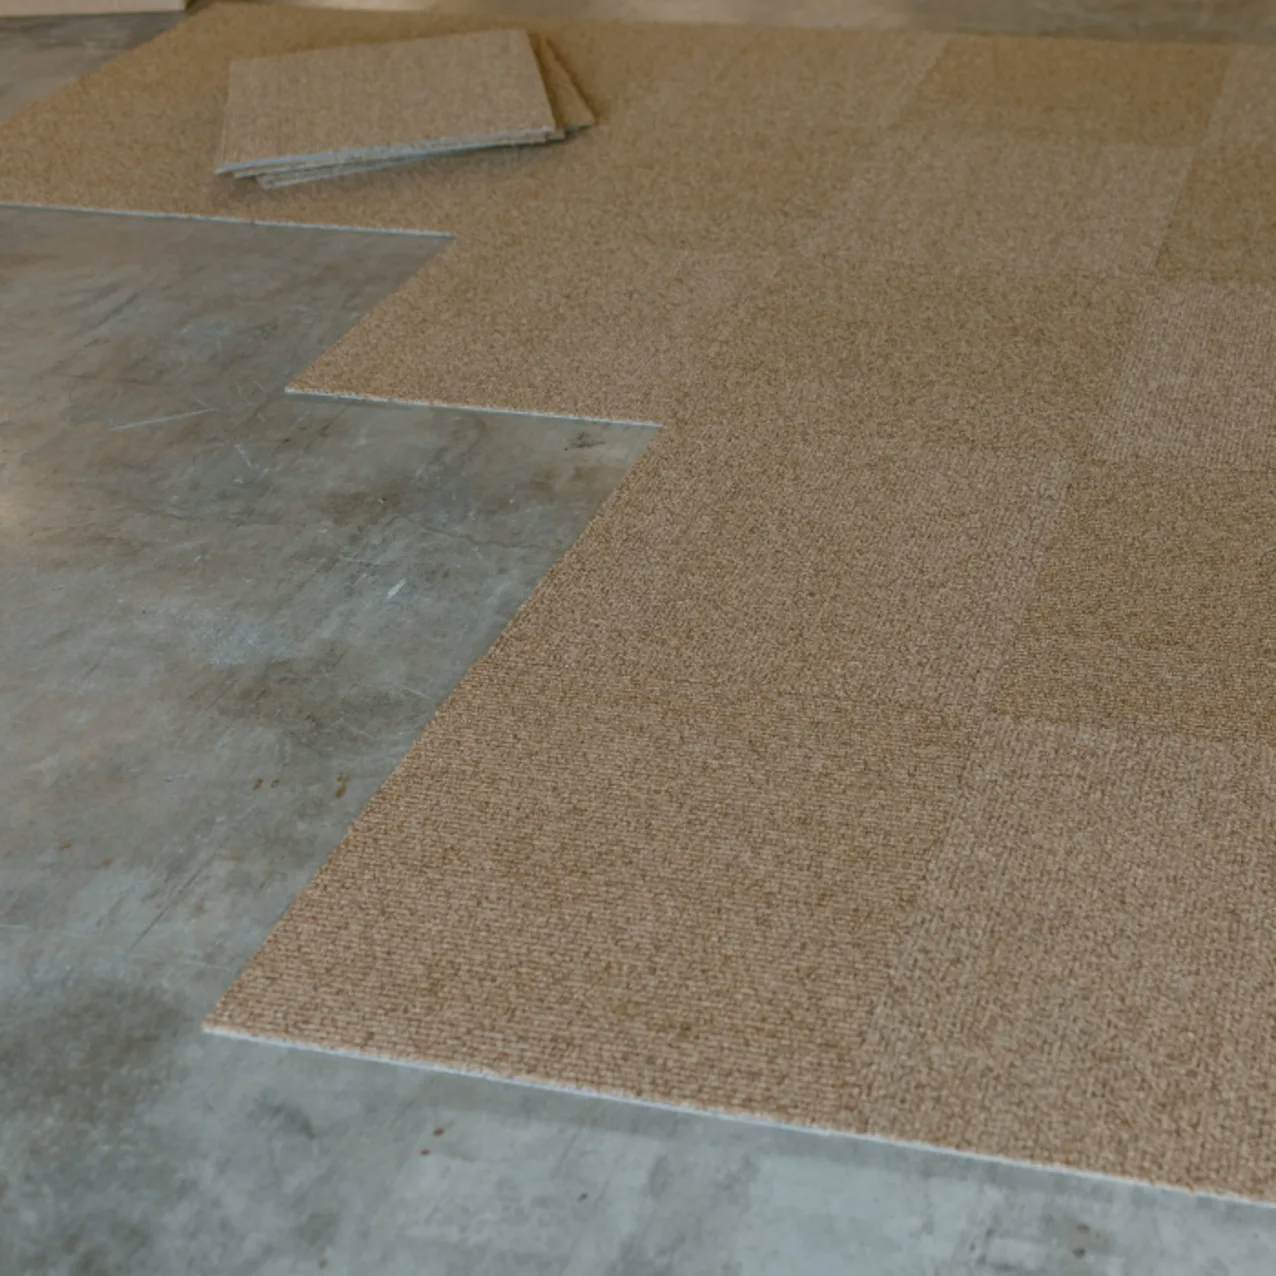
Dry Run: Lay out the carpet tiles without adhesive to visualize the overall design and ensure a proper fit. Makes notes or mark the underside of tiles with their location or sequence to help you maintain a pattern.
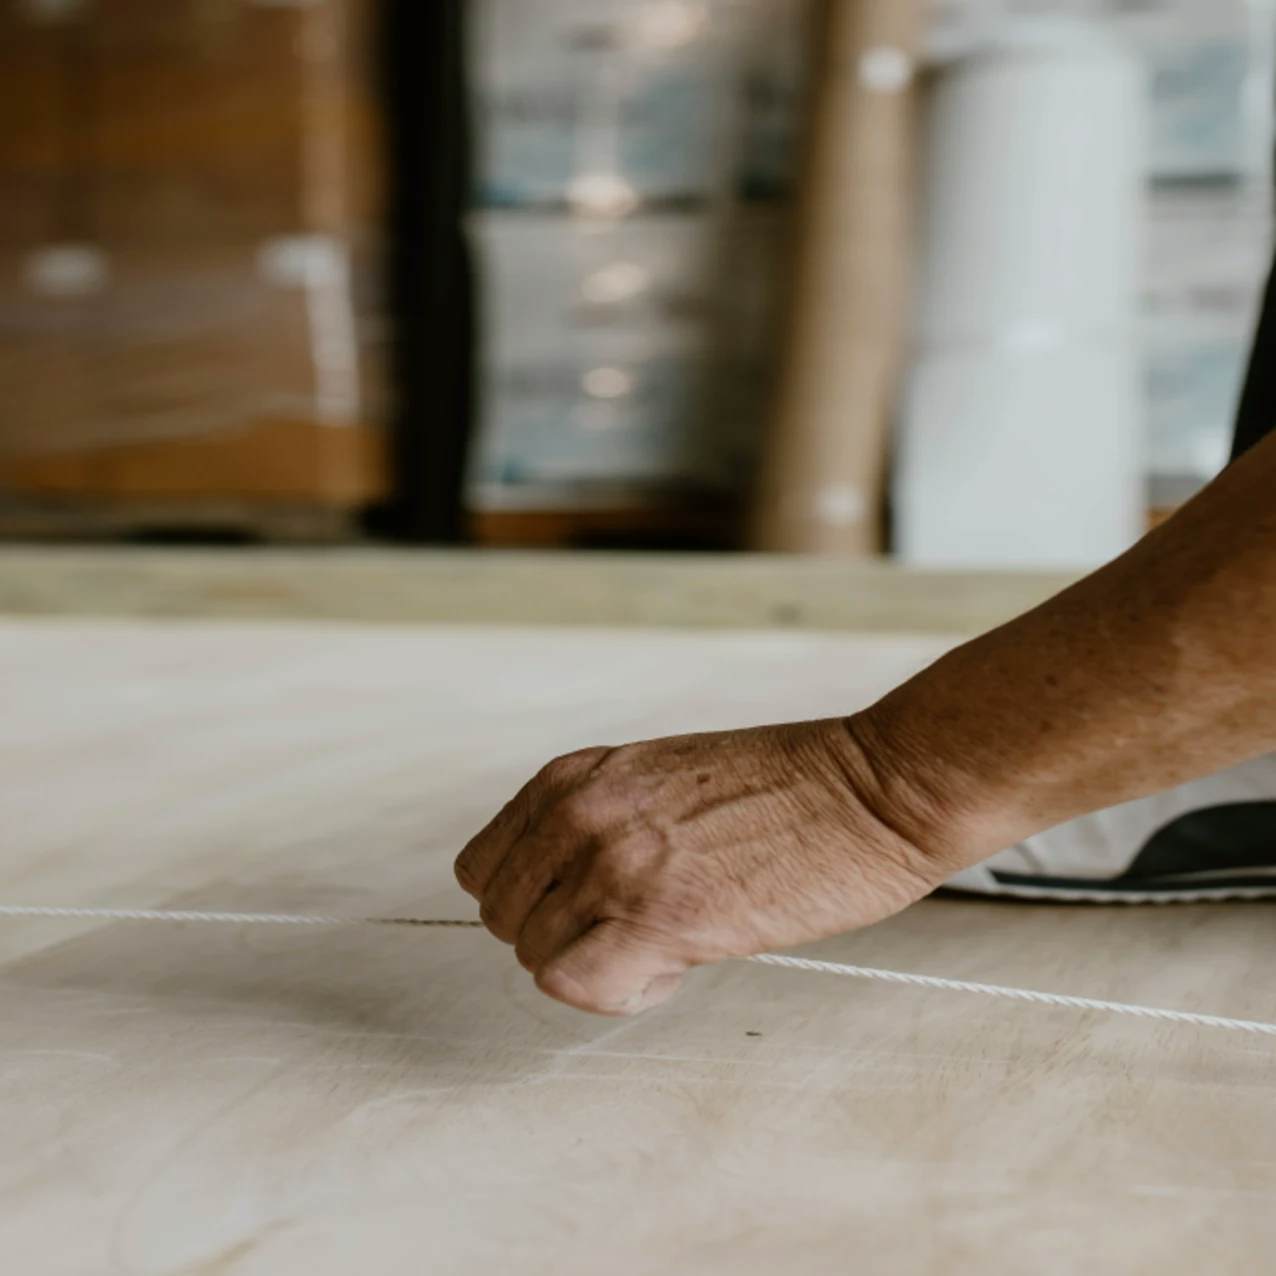
Mark Guidelines: Use a measuring tape and chalk line to mark guidelines on the subfloor that provide reference points for tile placement. Snap a horizontal and a vertical chalk line that intersect at the center of the room. This will help you stay “square” as you work.
A tiled floor looks seamless with a monolithic style and a quarter-turn pattern adds visual energy. With carpet tiles or planks, you can play around with patterns before making a final choice. Below are the most popular carpet tile installation designs and patterns. For even more ideas, like how to create a colorful checkerboard or basketweave tile design, check out our blog post Carpet vs. Carpet Tiles: Choosing the Right Flooring Option.
Refer to the product specifications for the manufacturer’s recommended installation methods.
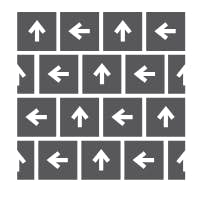
Quarter Turn
All square carpet tiles can be installed quarter turn. Because carpet tiles may have ribbing, a weave direction, or inherent irregularities, quarter turn installation is preferred since these details may not line up exactly from one tile to the next.

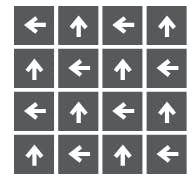
Monolithic
For ultimate flow, a monolithic tile pattern has the weave direction flowing in the same direction across all tiles. Please note that not all ribbing or other carpet attributes will align perfectly with this method.

Ashlar
All carpet tiles face the same direction with the tile seam displaced by half a tile in the length direction.
Quarter Drop
At each placement, a tile is turned 90-degrees and placed with the tile seam displaced by half a tile.
You’ve prepared the subfloor, acclimated all materials, gathered the tools, decided on a pattern, and are ready to install the carpet tiles. Follow these basic steps and you are on your way to a successful installation.
Loose Lay Installation
For residential spaces, temporary settings, flooring that will be anchored by furniture, or carpet tile area rugs.
- 1Step
Starting at the designated starting point (usually center of the room), apply strips of double-sided carpet tape along the center chalk lines, leaving the backing intact.
Align the first carpet tile with the center. Peel off the carpet tape backing and press the tile firmly into place.
- 2Step
Continue adding tiles in this manner—aligning the edges and patterns as desired to each neighbor tile, removing the carpet tape backing, and pressing firmly.
- 3Step
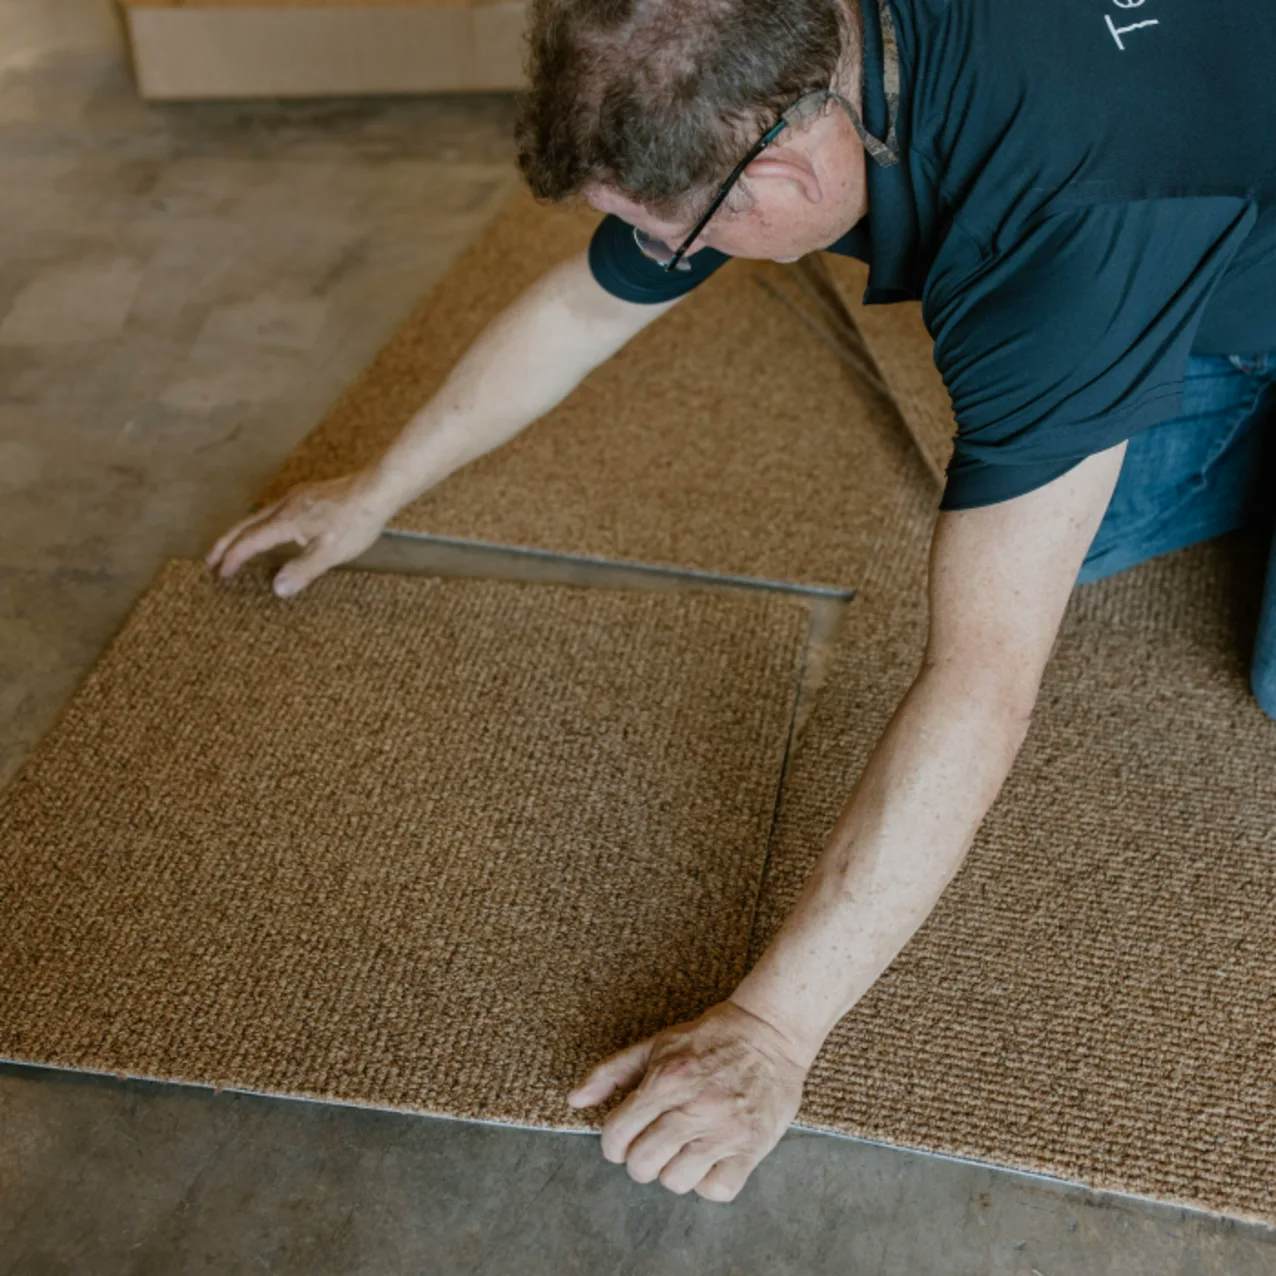
At the edges or baseboards, use a sharp utility knife to cut tiles to fit. For most carpet tiles, cutting parallel to any ribbing is preferred.
- 4Step
Lastly, for a professional finish, install transition strips or edging along the perimeters.
Option: in some cases like an area rug made from carpet tiles, a residential installation, or a temporary installation, double-sided carpet tape can be used on the perimeter of the rug or the space to hold the tiles in place, i.e. attaching carpet tape to every connection may not be necessary.
Permanent Installation
For residential, retail, commercial, or any setting that must meet certain regulations.
PLEASE NOTE: It is expected that all installers handling our materials be familiar with the CRI-104 minimum guidelines for installing commercial carpeting. Many of those guidelines for direct glue down and double stick installation will prove helpful.
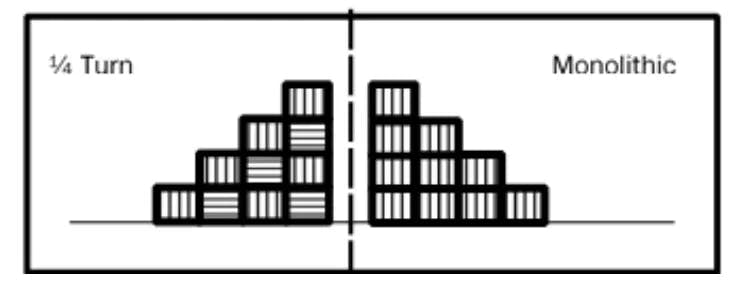
Pyramid Stacking
The diagram shows the pyramid technique for placing tiles as well as quarter turn and monolithic installation methods.
- 1Step
With subfloor prepared and cleaned, spread adhesive in one quadrant or section at a time. Adhesive should only be spread over areas that you will install in the current day.
Follow adhesive manufacturer’s recommendations for open time, spread rate, application method, etc.
- 2Step
When adhesive has properly set up, begin placing the first four tiles at the center point of the room or if you have divided the space into quadrants, place the tiles along the intersection of the quadrants.
Stair step each tile as you go. This pyramid technique keeps the entire layout square and in reference to the chalk lines. Instead of placing the tile down from the top, slide each tile into position from the side. This helps prevent trapped yarn from becoming caught in between tiles.
Do not compress tiles when installing; this will cause peaking, requiring reinstallation. Tiles must fit snugly but not be compressed.
- 3Step
Use a framing square to randomly check squareness of installation. Check for fit by measuring the length of 10 full tiles. If individual tiles are 19.7” x 19.7” (50 cm x 50 cm) the length of 10 tiles cannot be less than 197 inches or more than 197 ¼ inches.
- 4Step
At the edges or baseboards, use a sharp utility knife to cut tiles to fit. For most carpet tiles, cutting parallel to any ribbing is preferred.
For a professional finish, install transition strips or edging along the perimeters.
- 5Step
Adhesive drying times will vary based on local conditions but can be greatly reduced by using circulating fans.
Ambient site conditions must be between 65-85 F (18-29.5 C) and relative humidity between 40-60%. These conditions must be maintained at least 48 hours before, during, and 72 hours after the installation completion.
DO NOT cover the area with plastic or anything that would trap moisture and/or prevent air circulation. This could lead to installation failure.
DO NOT drag furniture or other objects over the new flooring. Use furniture dollies to safely move items or lay plywood over carpet tiles when moving heavy objects.
Whether you are an interior designer, professional installer, or a design-minded residential customer, today’s carpet tiles offer consumers versatility, luxury style, and ease of use. With little effort, a floor can be transformed into a natural foundation with Sisal Tiles or a colorful playground with Interlife Tiles. Whatever carpet tile you choose, we hope that by following our instructions and tips, your carpet tile installation goes smoothly and looks fantastic for years to come!
Disclaimer: These carpet tile installation guidelines are offered as a courtesy and are based on product knowledge and our many years of experience. We cannot guarantee a perfect result. Failure to follow product or manufacturer guidelines may result in installation failure and/or void any existing warranties.